- For how to find tasks in the different Diary screens, see Find tasks in the Diary.
- You can also create tasks from the Task bar, a Hazard, an Incident, an Asset, an Environment plan or a Farm plan.
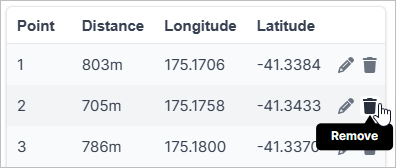
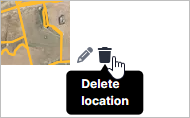
- On the Farm map, you can see tasks that have a location and click to complete or edit them.
 To create a new task