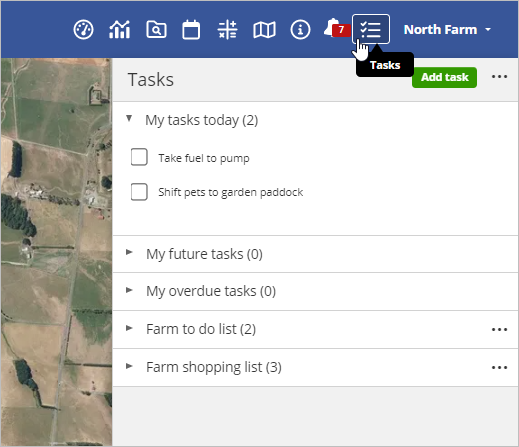
Task bar
Keep track of what needs to be done on the Task bar.
Open the Task bar to see your tasks, the Farm to do list and the Farm shopping list. This is a convenient place for you to manage the tasks that are assigned to you and to check off items on the lists as you complete them.
You can also create tasks and add items to the Farm to do list and the Farm shopping list.
Watch this video for an overview of how to use the Task bar:
Open the Task bar
To open the Task bar, click the Tasks icon in the top Navigation bar. Click the name of the section you want to view to expand it.
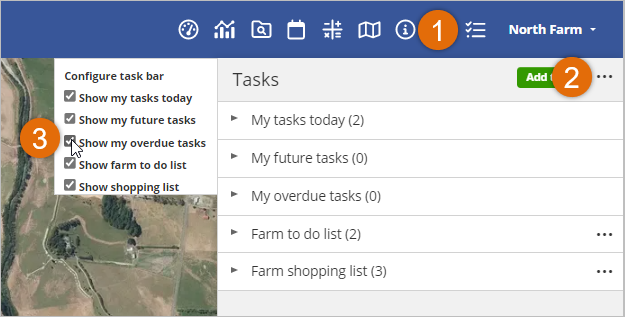
Change which sections are displayed on the Task bar
Each user can customise which sections of the Task bar they see.
- Open the Task bar.
- Click the three dots at the top right of the Task bar.
- Under Configure task bar, clear the checkboxes of the sections you wish to hide.
- Click the dots again to hide the configuration box.
Manage tasks assigned to you
When a task is assigned to you, it appears on your Task bar on one of the task lists: My tasks today, My future tasks or My overdue tasks.
You can view the details of a task, edit a task or mark a task as completed on the Task bar.
To open and close a task list, click the name.

|
-
If the task has a checklist with an item marked compulsory, you must mark this item as complete before you can record the task as complete.
|
-
Open the Task bar.
-
Click the name of the section with the task you want to view.
-
Click the name of the task you want to view.
-
To return to the Task bar, click Cancel.
-
Open the Task bar.
-
Click the name of the section with the task you want to edit.
-
Click the name of the task you want to edit.
-
Make the desired changes.
-
Click Save.
-
Open the Task bar.
-
Click the name of the section with the task you want to record as complete.
-
Click the checkbox next to the task you want to record as complete.
-
If the task has a checklist with an item marked as compulsory, that item must be completed before you can record the task as complete.
-
The task is crossed out but will remain on the list until midnight that day.
-
You can clear the checkbox to view or edit the task.
Create tasks on the Task bar
You can create tasks and assign them to staff and contractors on the farm on the Task bar.
-
Open the Task bar.
-
Click Add task.
-
Click Create new.
-
Enter the Task title.
-
If you wish to assign this task to a staff member or contractor, select their name from the Assign staff dropdown box.
-
You can assign tasks to farm staff and contractors who have been added to FarmIQ. They do not have to have their own FarmIQ account. See People for more details.
- If this task is required for environmental compliance, check the Is this task required for environmental compliance? box.
- Enter the Start date and End date of the task.
-
If you are adding a repeating task, select the Repeat task checkbox.
-
Select the unit for the task repeating under Repeats and frequency under Repeats every.
-
Select when the task ends: after a specified number of occurrences, after a specified date, or never.
-
You can add items to the task in the right hand panel of the Create task box.
-
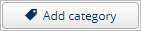
Click Add category.
-
Select whether the category relates to Health and safety (H & S), Land, Stock or Other.
-
Select the categories you want to add from the list.
-
To filter the list, enter a keyword in the Filter box.
-
Click Save.
To link the task to an asset, hazard, emergency equipment or emergency drill click here
To link the task to an asset, hazard, emergency equipment or emergency drill:
-
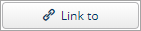
Click Link to.
-
Then to...
|
link to:
|
select the...
|
The task will be listed under...
|
|
an Asset,
|
Asset type and Asset.
|
Maintenance tasks in the Asset record
|
|
an Emergency drill,
|
Emergency drill.
|
Scheduled/completed drills in the Emergency drill record
|
|
Emergency equipment,
|
Equipment type and Emergency equipment.
|
Checks in the Emergency equipment record
|
|
a Hazard,
|
Hazard type and Hazard.
|
Action plans in the Hazard record
|
-
To remove a link, click the dustbin next to it.

-
Click Save.
-
The link can be seen in the Details column in the tasks view of the diary.
-
The task will appear in the action plan of the selected asset, emergency drill, emergency equipment or hazard.
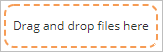
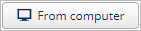
To attach a file from your computer:
To attach a file from your file library click here
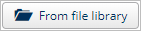
To attach a file from your file library:
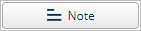
- Click Note.
- Enter a note into the Note box.
- To remove the note, click the dustbin next to it.

-
Click
Save.
 To add a task on the Task bar using a template
click here
To add a task on the Task bar using a template
click here
-
Open the Task bar.
-
Click Add task.
- Click From template.
-
Find the template you want to use and click Select.
-
In the Create task from template window you can Search for template by name, as well as Filter type and Filter category.
-
You can change the task title.
-
If you wish to assign this task to a staff member or contractor, select their name from the Assign staff dropdown box.
-
You can assign tasks to farm staff and contractors who have been added to FarmIQ. They do not have to have their own FarmIQ account. See People for more details.
- If this task is required for environmental compliance, check the Is this task required for environmental compliance? box.
- Enter the Start date and End date of the task.
-
If you are adding a repeating task, select the Repeat task checkbox.
-
Select the unit for the task repeating under Repeats and frequency under Repeats every.
-
Select when the task ends: after a specified number of occurrences, after a specified date, or never.
- You can add items to the task, or adjust existing ones, in the right hand panel of the Create task box.
-
Click Add category.
-
Select whether the category relates to Health and safety (H & S), Land, Stock or Other.
-
Select the categories you want to add from the list.
-
To filter the list, enter a keyword in the Filter box.
-
Click Save.
To link the task to an asset, hazard, emergency equipment or emergency drill click here
To link the task to an asset, hazard, emergency equipment or emergency drill:
-
Click Link to.
-
Then to...
|
link to:
|
select the...
|
The task will be listed under...
|
|
an Asset,
|
Asset type and Asset.
|
Maintenance tasks in the Asset record
|
|
an Emergency drill,
|
Emergency drill.
|
Scheduled/completed drills in the Emergency drill record
|
|
Emergency equipment,
|
Equipment type and Emergency equipment.
|
Checks in the Emergency equipment record
|
|
a Hazard,
|
Hazard type and Hazard.
|
Action plans in the Hazard record
|
-
To remove a link, click the dustbin next to it.
-
Click Save.
-
The link can be seen in the Details column in the tasks view of the diary.
-
The task will appear in the action plan of the selected asset, emergency drill, emergency equipment or hazard.
To attach a file from your computer:
To attach a file from your file library click here
To attach a file from your file library:
- Click Note.
- Enter a note into the Note box.
- To remove the note, click the dustbin next to it.
-
Click Save.
Farm to do list and Farm Shopping list
The Farm to do list is a list of activities that need to be done but can be done by anyone on farm.
On the Farm shopping list you can record items that are needed for the farm.
All users with access to the task bar can see, add and check off items on the Farm to do list and Farm shopping list.
On the list History you can see all completed and open items, with created and completed dates and who created and completed them. You can sort and export the list History, making it easy for you to take it with you around the farm or when you go to shop.
|
|
-
Everyone with access to the Task bar can add, see and complete items on the Farm to do list and Farm shopping list.
-
When an item on the Farm to do list or Farm shopping list is marked as complete:
-
The item is crossed out
-
The System shows who recorded it as complete and the time.
-
The item remains, crossed out, on the list until midnight that day.
-
The item is recorded in to do list or shopping list History. It is not recorded in the Diary.
-
If you delete an item on the Farm to do list or Farm shopping list the item does not appear in History.
|
-
Open the Task bar.
-
Click Farm to do list or Farm Shopping list.
-
Enter an activity or description in the text box at the bottom of the list.
-
Click Add or press Enter on your keyboard to add another.
-
Open the Task bar.
-
Click Farm to do list or Farm shopping list.
-
Click the checkbox next to the item you want to mark as completed.
-
The System shows that you have recorded the activity as complete and at what time.
-
Open the Task bar.
-
Click Farm to do list or Farm shopping list.
-
Click History next to Farm to do list or Farm shopping list.
-
To sort the list, click the column headings.
-
To download the list to a PDF, click Export.
-
To return to the Farm to do list or Farm shopping list, open the Task bar.
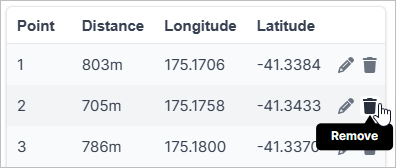
To delete an item from the Farm to do list or Farm shopping list click here
-
Open the Task bar.
-
Click Farm shopping list or Farm to do list.
-
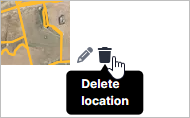
Hover over the item you want to delete.
-
Click the dustbin.

-
Items deleted from the lists do not appear in History.
Find out more